White Papers
Imaging Topics Explained
How to Set Koehler Illumination
Koehler illumination is a microscope technique that provides superior control over the light rays during brightfield microscopy by aligning and focusing the microscope, ensuring the best resolution and contrast, as well as a bright, evenly illuminated background for your images. Koehler illumination is critical for the following advanced contrasting techniques: Phase contrast, Varel contrast, Hoffman Modulation, PlasDIC and DIC. Prior to setting up and aligning the advanced contrasting components, the microscope’s Koehler illumination must be aligned.
Required Microscope Parts
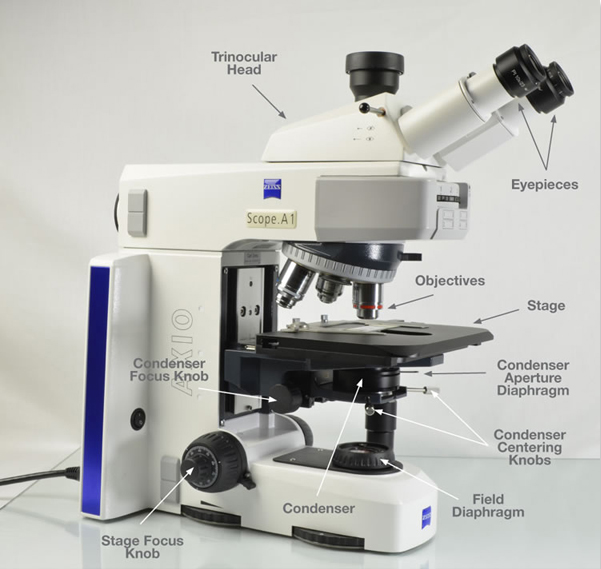
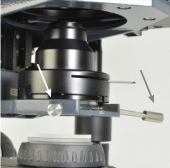
In order to set up a microscope for Koehler illumination, the microscope has to have a vertically adjustable, centerable condenser and field diaphragm as illustrated in the figure below.
Koehler Illumination Procedure
Follow these six simple steps to set up your microscope for Koehler illumination.
-
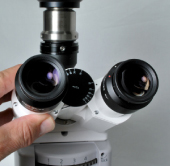
Adjust the diopters on the microscope eyepieces to zero. Adjust the interpupillary distance of both eyepieces to fit your eyes.
-
Determine which objective will
be used most for your
detailed work. It is
recommended that
you start with a 10X. This will be the target objective for aligning the Koehler illumination.
For publication images, the Koehler illumination should be set for each objective used to photograph
specimens.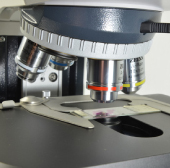
-
Place a sample slide on the stage and bring it into focus with the selected target
objective (it may be helpful to start by focusing with a lower magnification objective and then stepping up to the target objective).
You may have to adjust the opening of the field diaphragm to get an edge into the field of view (this condenser focus point tends to be near the specimen end of the condenser focus travel).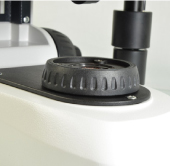
-
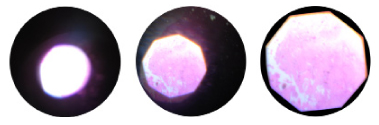
Adjust the condenser focus knob until the edge of the field diaphragm comes into sharp focus.
-
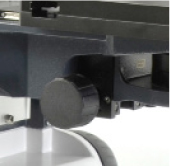
Adjust the condenser centering knobs until the field iris is in the center of the field of view.
Gradually open the field iris and make final tweaks of the centration with the field iris at the very edge of the field of view. Then open the field iris just outside the field of view.
-
The last step is to adjust the condenser aperture iris to match the NA (numerical aperture) indicated on the objective.
The aperture iris can also be stopped down to 60% of the NA setting (trading image resolution for contrast.) An alternative way to set the condenser aperture is to remove the eyepiece and look down the eye tube at the back of the objective and adjust the aperture diaphragm until approximately 90% of the area is illuminated (a setting that visually looks very near the edge of the objective but is not quite fully to the edge).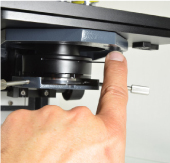
 Download this SPOT Imaging Article